Powered By Blogger
Showing posts with label Quilting. Show all posts

Great plan, if I do say so!

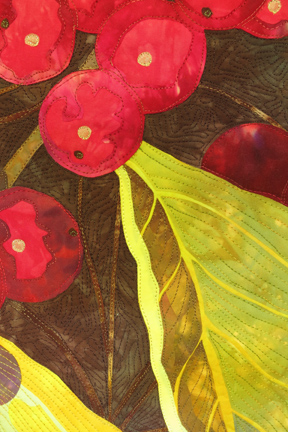
I have begun to quilt the Honeysuckle berries and I MUST say, I am a genius!! (Hah!) Anyway, I really want the berries to stand out as they do on the bush in the fall. That's why the Waxwings have such easy pickings :-) I have quilted all of the leaves, branches and twigs , and, of course, the berries. The berries themselves have minimal quilting because I really wanted them to stand up above the rest of the shapes. SO.... What to do with the background??? Well, brilliant idea! In the original photo, there are a zillion tiny twigs everywhere in the background. I only appliqued a few , but here is my plan. Intensively quilt the background spaces with fairly straight line quilting to suggest branches in HOPES of flattening the background, thus allowing the leaves to stand out somewhat and to REALLY let the berries shine. Here is the result. Judge for yourself whether it worked....
Here is the whole piece, so far. I am not sure in this pic if you can tell where the background IS quilted!
Hopefully, you get the idea here

These are all basically the same part of the quilt but ..

Some shots show better than others


LOVE the red shiny berries! I am working on a Berberis piece now , also great fruits- also RED! ( and SHINY!)
I HOPE to JUST squeak in under the wire with this for theneedleandthreadnetwork.blogspot.com . I am a bit late this week but there are LOTS of other , more organized people who HAVE posted! Enjoy.

OOPS! Missed for this week :-(

One step forward, one step back!

The step forward is that I have actually started quilting the Layers project! Yay, me!

Starting at the centre on the base of an iris petal

Two petal bases now
As you see , it is not a LOT but it IS a start! Again, yay me! I have finally got a comfortable setup in the new space in the dining room so expect great progress now.

The step backwards is this. Those of you who have been here with me for a while will know how much I HATE that "Prove you're not a robot" thing and may recall my posting a little badge with that sentiment expressed clearly. Today, you will note that I have removed that thing! The reason, I am inundated by spam from ANONYMOUS! Anyone else hear from him/her/them??? The message is always gibberish but the return addresses smack of smut and WE ARE NOT AMUSED! I have not replied to any of them, naturally but now I wish I had the prove you're not a robot thing in place again. Anybody have any idea how to turn it back on? If you have, do tell  please because I am ready to succumb and ask you to use it. Why is it always the good folks like yourselves who have to suffer for the sake of eejits??? For those few of you who do legitimately use Anonymous as a sign in, please do not worry about signing in with your own name - even just a first name because I am just zapping Anon's "posts" without even paying attention to them any more. If I see the name "Anonymous", it is into the Spam folder , toot sweet!! :-)

Are you sick and tired of seeing this now???

The Fatsia Project is FINI!!! All but the mounting, that is. Oh, and I need to make a label. I THINK I am happy. I used a variegated thread for the background quilting and , in hindsight, maybe a solid colour would have been better. It kind of borders on too busy I think.

I have thought of all sorts of ways to hang this but have decided to pester my long suffering husband and get him to make me a little 3/4" x3/4" frame and stretch the bound edge around it so the piece stands out from the wall. I will leave 1/4" of binding showing but cut it a couple of inches wide so there is enough to wrap round the frame.The quilt is quite realistic, almost like a painting so I like the idea of hanging it like a painting.


Cropped a bit too much by the photo but you get the idea.
For certain of my kind online friends( you KNOW who you are !) I took some detailed pictures because I know you like to see the details :-). Enjoy the penultimate post on the Fatsia Project- I HOPE!

Detail of some background quilting and the thread painting.

...and more detail...

...and my favourite berry!
...and most of the big leaf. Too bad it was rolled in on itself. The leaves are spectacular big palmate things with shiny surfaces and prominent veins,

Ready to stitch

It has come down to the wire now with this little piece. By the way, it is17.5 inches by 20 inches as it stands at the moment. I will be making a practice piece to try my new needles and new threads before I work on the quilt top.There is tearaway stabilizer as well as a lot of layers of Wonder Under and , of course, the cotton fabrics to get through. Eventually, once I have done some thread painting, I will add the batting and backing and actually quilt it too but for now it will be all edge stitched with invisible thread , then some thread painting. It is going to be a HOT Canada Day weekend ( and our 46th anniversary on the first too) so I shall be indoors , sewing merrily and staying cool.
This is what I will be working with. You can see that I have altered the top left corner a little and am ready to sew. Good luck to me !

The Zentangle beast

I have been quilting the background of this little piece - having a ball! I did a little bit of bobbin work on the curlicues at the end of the spikes. It is ok, but I need to speak to my Guru to get the tensions adjusted properly. The quilting is ALMOST finished and I still like this piece. It is abnormal for me, but maybe I am growing ? I am less fearful now of trying wild and crazy things than I used to be. This one just grew out of my head :-)( shows the state of my head, doesn't it!!)
Just showing the background quilting

Detail

Bobbin work on the curlicues

Too bad it is cropped so much. I will get a better one next time but this is as far as I have gotten to date. I HOPE to finish the quilting tonight.

Quilted - mostly!

You can really see the silvery inner border here because of the wrinkles.

The towers just got a touch of shimmer down the lighter side.

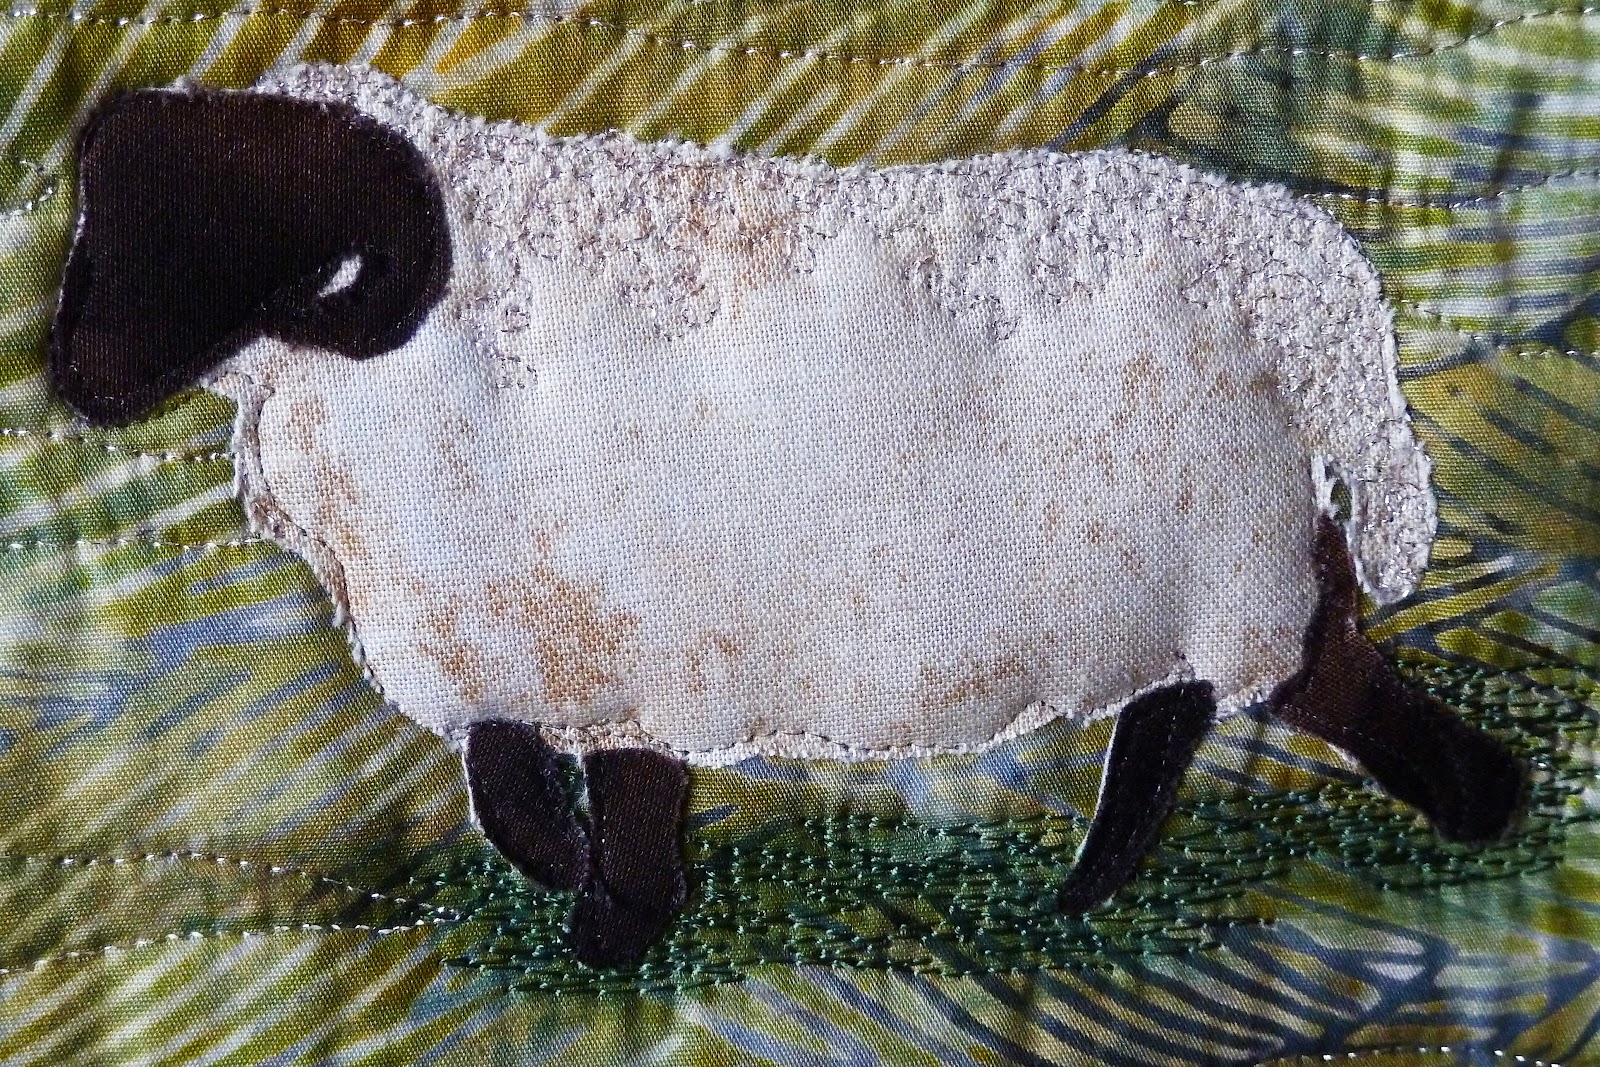
The sheep got their backs silvered a little. The actually DO get shimmery from the moisture some days.

Just for special people!!- Sheepses:-)
Here it is, quilted inside the border. The pictures are not great because it is a gloomy afternoon and I had the piece pinned onto too small a board, so it wrinkled . Anyway, I THINK I am happy. I like the effect of the silver thread. I used some invisible and a bit of darker green for the shadows under the sheepses. I do like the way the colours turned out. On the day this was taken, we had cool , damp mist and everything was milky and pale. Nice atmosphere. I love fog but this was just mist.

Quilting Putechan

The quilting has begun ! I HOPE I am happy with what I am doing. I tried overlays and they just did not work, so, instead I am doing a lot of my quilting in silver metallic thread by Superior. It is gorgeous thread and I HOPE the shimmer will create the desired effect.

The shape and the structure of Putechan is very distinctive and , although I have not shown the whole of the cemetery, the McAlister plot is the most striking part. Many details are missing, just like the details that have worn off the headstones over the years. All I wanted was the impression of the site. I wanted the past to show, worn and misty but still evident. The present is somewhat clearer as evidenced by the sheep in the foreground. Individuals come and go but there will ALWAYS be sheep in Scotland.

Pictures will follow, maybe later today but this is my rationale to date.

As requested!

Some of the border quilting.

Beading in the centre

These are some og the little beads I am going to use around the green border.

Add caption


Another corner quilted. This shows the beads pretty well.

This is all finished now. I should have waited to take the pictures!!!
I have been asked to show some photos of the beading on the Reemay project. Here they are. They are all small beads, scattered loosely over the whole piece. The border will have some beading too but I have not gotten that far yet. I did finish the quilting of the border and the beading of the centre tonight.Tomorrow, hopefully I will back this little piece.

Reemay so far

Taken in natural light- VERY bright sun!

I moved it out of the sun as much as I could and got this with forced flash.This is truer colour. The first one looks faded.
I am making progress on this project and am liking it more as I go on. I really like the contrast between the crispy, hard Reemay and the glowing, nubbly Dupioni. The whole central motif is now stitched and I am in a quandary. Shall I leave the empty holes as they are or shall I do some quilting in there too? I will definitely do some work in a pretty variegated lime, yellow thread around the outer edge on the limey green silk.

I have no backing on this yet. I am quilting on the silk backed with batting. I should post a picture of the back side. I really like the wrong side of things.
The wrong side of the reemay
A little closer up but it does not look well focussed here. My apologies, but you do get the idea.

There! Done!! I LOVE digital photography!

Reemay continued

Well, I have added a few more bits to this piece and have now backed it with batting and have begun quilting. It is very fiddly but I never mind fiddly! However, as you can see from the closeups, looking so closely at this while I quilt REALLY shows how hard it is to cut  smoothly and how much practice I need ! I did get better as time went on but I need to finish the two yards of Reemay I ordered and maybe I will BEGIN to smooth out my shaky cutting. I did it with a hot knife and a little round, pointy end on my soldering iron. Practice, they say, saves milking time! I hope it improves hot knife cutting too!
The whole piece as it now stands. I found my #80 Superior topstitch needle was making big holes in the Reemay, so I dropped down to a # 60 needle. MUCH better!

Not too bad from a distance

Now you see the shakies!

Now you REALLY see the shakies! Gotta get hold of this soon . This is too interesting and has too much potential to have it messed up by incompetence.
As an added bit, I bought myself three pots of yellow primula yesterday. I LOVE spring flowers and I LOVE spring! When I got them home , my dear Husband asked if this were " the flowers I bought you THIS week?" I looked him in the eye and said, " Harrumph!" Anyway, they are gorgeous and now sitting in the front window even as we experience an Alberta Clipper! It is VERY pretty outside too so maybe some more pics later.

Gorgeous, eh? AND, the deep golden one with the dark eye smells heavenly! Mmmm! Love it!

Back to the Smoke tree leaves

Well, I have the little piece trimmed and bordered- double bordered, actually. I put a very narrow bright turquoise border strip around and then a piece of batik in colours similar to the background. I like the colours but feel that the outer border is a bit wide so it shall get narrowed down a little bit.

I want to quilt this piece lightly as the decorative stitching is intense and I want that colour and texture to show nicely. I will use the border so I can continue the lines of the leaves as if they were complete into the border instead of leaving them chopped off as they are now. Does this make sense? It does to me , but I am its Mummy! I have a delicious variegated Superior thread for the quilting: )